Hydrangeas
Find the Perfect Hydrangea for Your Space
Hydrangea Flower Colors
Types of Hydrangeas

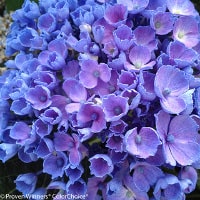
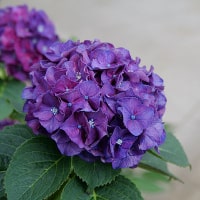
Mophead
Hydrangeas
- Most Popular Type
- Blue, Pink & Purle Flowers
- Morning Sun With Afternoon Shade
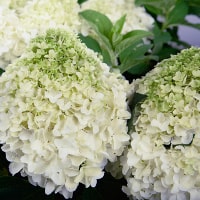
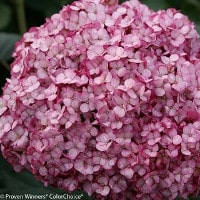
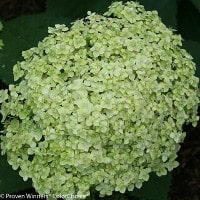
Smooth
Hydrangeas
- Largest Hydrangea Blooms
- White, Pink or Green Flowers
- Perfect for Full Sun

Panicle
Hydrangeas
- Can Prune Into Trees
- White, Pink or Green Flowers
- Perfect for Full Sun
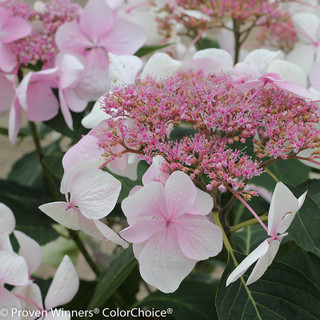
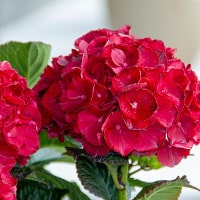
Lacecap
Hydrangeas
- Unique Flowers
- Blue, Pink & Purle Flowers
- Morning Sun With Afternoon Shade
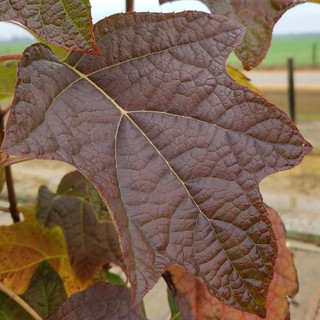
Oakleaf
Hydrangeas
- Native to North America
- Beautiful Fall Foliage
- Partial Shade to Full Sun
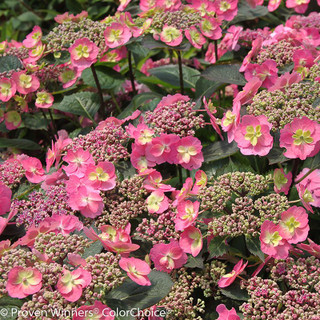
Mountain
Hydrangeas
- Dwarf Hydrangeas
- Blue, Pink & Purle Flowers
- Morning Sun With Afternoon Shade
To understand which hydrangeas will grow in your location, it is important to know the growing zone in which you are gardening. To find your growing zone, just enter your zip code on the top of our website. After you know your growing zone, it is important to know the location of where you plan on growing the hydrangeas. Mophead hydrangeas typically come in flower colors of blue, pink and purple depending on the soil’s pH. These are the most well-known type, and grow best with morning sun and afternoon shade. You can change the color of these blooms by adjusting the soil’s pH, but this is a slower process. Learn about changing the color of hydrangeas.
Panicle and smooth hydrangeas are the best types to grow in hotter locations that receive afternoon sunlight. These shrubs can handle full sunlight from morning until evening. These types of hydrangeas typically have white, pink or green flowers and are the 2nd most popular varieties.
The Best Way To Use Hydrangeas
Hydrangeas are prolific blooming shrubs that come in many different colors, sizes, and varieties. We offer the best selection of hydrangeas in the United States. These plants grow best in growing zones 3-9, depending on the type. Most pollinators love the large fragrant blooms from late spring to fall.
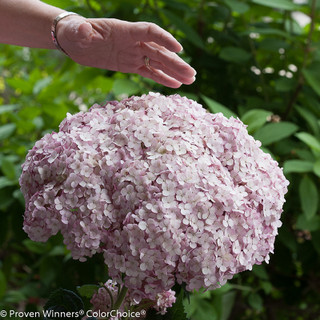
Hydrangeas are great for all gardens and can also be grown in planters on the patio, porch, deck or any other spaces that receive enough sunlight. Plant these in a row of 5 or more to create a beautiful flowering hedge or border in the garden.